
Roo Station / UNIT 05 RO05
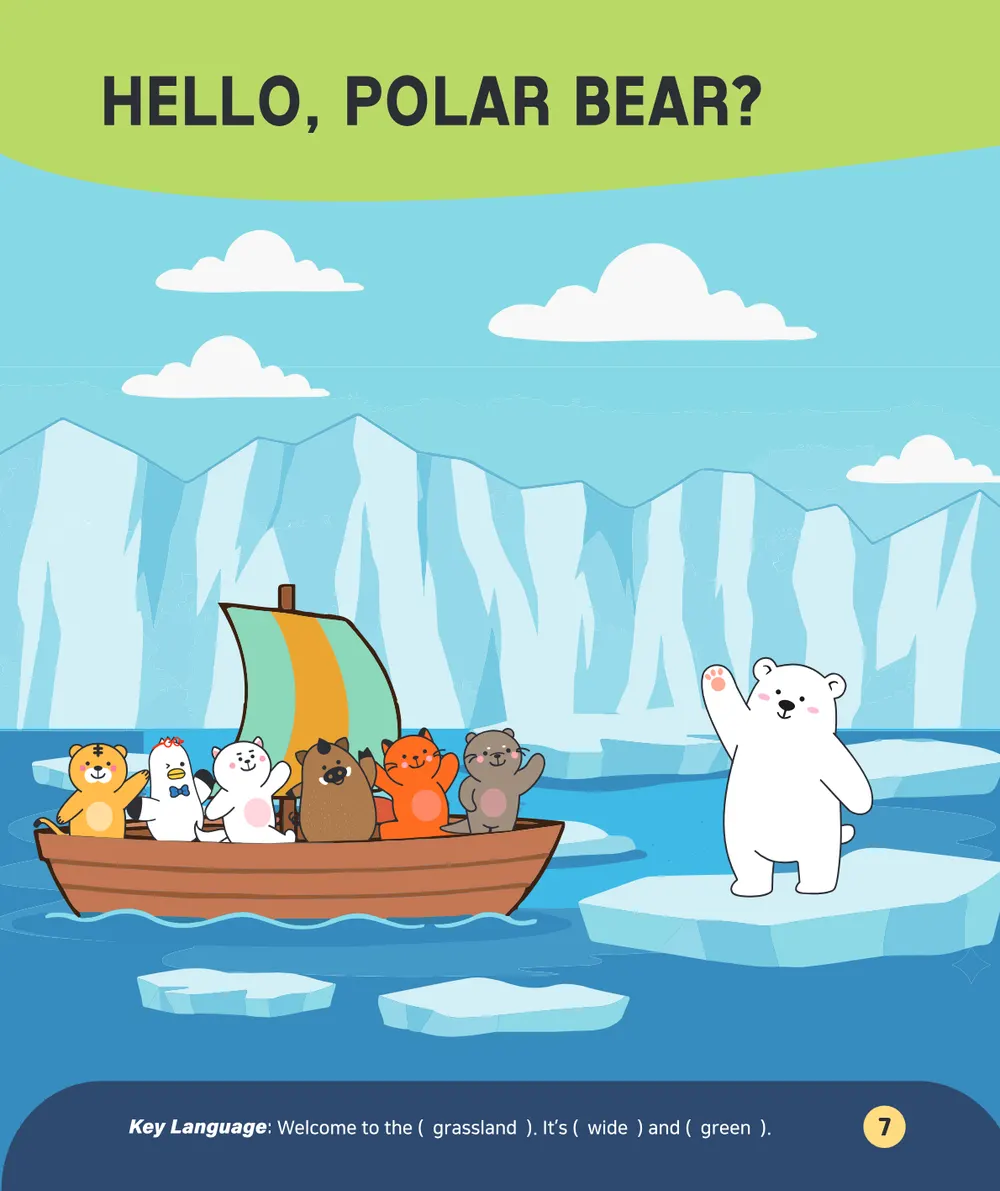
Hello, Polar Bear?
Welcome to the (grassland).
 LESSON 3
LET’S GET STARTED
CLIL and Phonics
Follow the shared lesson flow, with room to repeat, pause and play.
Start presentation Slides, audio and teaching notes in one place.Your lesson flow
Week 2 · Day 1- 01Routine
Hello & warm-up
Greetings, feelings, weather and the day.
- 02SB
story review, brief
Student Book · p. 10–25
- 03SB
CLIL, Match the habitat
Student Book · p. 27
- 04WB
phonics
Workbook · p. 8–9
SING · MOVE · PLAY
A little more play
Built into your lesson. Repeat or skip to suit your class; keep time for the book and conversation.
More official songs & online games
Preview external pages before class. They open in a new tab and may need internet or show provider content.
- Walking Walking · movement song ↗Use before seated book work. Model actions in place.
- Starfall ABCs · letter exploration ↗Choose the lesson’s letter with your class. Best after introducing its sound.
- British Council · word games ↗Select the topic first; reading tasks need teacher help for beginners.
Our games add oral practice to the curriculum. They do not measure a child’s English level.
Teaching guide
Original Teacher’s Guide. Each 40-minute lesson covers two guide periods.
3. CLIL and Phonics
W2 P1Student Book — Read together review + Student Book (CLIL)
Lesson Goals
- To understand that animals live in different homes
- To build confidence in speaking English
Students will be able to
- Match animals with their correct habitats
- Say the key vocabulary words
- Use simple target sentences with support
1. Warm-Up
Hello Song · “How are you?” · “How’s the weather today?” · Day of the week check
2. Story Review (Student Book pg 10–25)
- Guide the review by pointing to key story scenes and asking students to name the animals they see as they follow the journey to the polar bear. Model the target language first, then invite students to respond together or individually.
- Point to the grassland: “What is this? The grassland! Who lives here?” (Guide them to find and say “lion!”)
- Point to the desert: “What is this? The desert! Who lives here?” (Guide them to find and say “desert fox”.)
- Point to the Arctic: “What place is this? The Arctic! Who lives here?” (Guide them to find and say “polar bear!”)
3. CLIL — Match the habitat (Student Book pg 27)
- Objective: students match animals to their correct habitats and verbally identify each pair using the target language.
- Materials: 5 animal-habitat pairs (10 cards). Animals: lion, desert fox, polar bear, penguin, parrot. Habitats: grassland, desert, Arctic, Antarctic, rainforest.
- a) Review the animals and habitats using the story: “A lion lives in the grassland.” “A polar bear lives in the Arctic.”
- b) Mix the cards well and lay them face down in a grid on the table or the floor.
- c) Divide the class into small groups.
- d) Students take turns flipping two cards.
- e) If the cards match (animal + habitat), the student keeps the pair. If they don’t match, turn them back over and the next student goes.
- f) The game continues until all pairs are matched.
- Teacher Tip: encourage students to speak as they play. When flipping cards: “I found a… lion!” When matching: “It’s the grassland!”
6. Wrap-up
- Review target words with the Let’s Chant song, then finish the class with the Goodbye song.
W2 P2Phonics (Workbook)
Lesson Goals
- To introduce the phonics sounds DR and GR
- To support early phonics awareness through listening and speaking activities
- To reinforce phonics learning using familiar vocabulary and visuals
Students will be able to
- Identify the sounds /dr/ for DR and /gr/ for GR
- Recognize words that begin with DR and GR from pictures
1. Warm-Up
Hello Song · “How are you?” · “How’s the weather today?” · Day of the week check
2. Phonics Introduction — dr
- a) Demonstrate pronunciation. i) Write ‘d’ on the left and ‘r’ on the right. Point to d: “The letter D makes the /d/ sound. To make the /d/ sound, tap your tongue behind your top teeth and let the air out quickly. Let’s make the sound together: /d/, /d/, /d/!” Point to r: “The letter R makes the /r/ sound. To make the /r/ sound, curl your tongue up! Let’s make the sound together: /r/, /r/, /r/!”
- ii) Blending. Draw an arrow connecting d and r on the board. “Now, let’s slide the sounds together! /d/… /r/…” “Fast! /dr/! /dr/!” Have the students use their hands to make a “slide” motion in the air as they say the sound.
- iii) Point to the puzzle on page 8: “Look at the gray puzzle pieces in your book. They are waiting for their sounds! Pick up your ‘d’ sticker. Place it on the first piece. Say /d/, /d/, /d/! Now, pick up your ‘r’ sticker. It says /r/, /r/, /r/! Are you ready to join them? As you stick it down, let’s slide the sounds together… /d/… /r/… Snap! Now they are together! What sound do they make now? /dr/! /dr/! /dr/! Excellent!” Let students repeat.
- iv) Word Practice. Practice the words on page 8 by repeating the /dr/ blend and identifying the corresponding images. “/dr/ /dr/ /dr/ like in dry.” “/dr/ /dr/ /dr/ like in drum.” “/dr/ /dr/ /dr/ like in dress.”
- c) Explain the meaning using physical actions. Dry — pretend to drink from an empty cup, look sad, and say “Dry!” Drum — pretend to hold drumsticks and beat the air and say “Drum!” Dress — pretend to hold the edges of a skirt and twirl and say “Dress!” Encourage students to copy your actions.
3. Phonics Introduction — gr
- a) Demonstrate pronunciation. i) Write ‘g’ on the left and ‘r’ on the right. Point to g: “The letter G makes the /g/ sound. To make the /g/ sound, push the back of your tongue against the top of your mouth and let the air out quickly. Let’s make the sound together: /g/, /g/, /g/!” Point to r: “The letter R makes the /r/ sound. To make the /r/ sound, curl your tongue up! Let’s make the sound together: /r/, /r/, /r/!”
- ii) Blending. Draw an arrow connecting g and r on the board. “Now, let’s slide the sounds together! /g/… /r/…” “Fast! /gr/! /gr/!” Have the students use their hands to make a “slide” motion in the air as they say the sound.
- iii) Point to the puzzle on page 9: “Look at the gray puzzle pieces in your book. They are waiting for their sounds! Pick up your ‘g’ sticker. Place it on the first piece. Say /g/, /g/, /g/! Now, pick up your ‘r’ sticker. It says /r/, /r/, /r/! Are you ready to join them? As you stick it down, let’s slide the sounds together… /g/… /r/… Snap! Now they are together! What sound do they make now? /gr/! /gr/! /gr/! Excellent!” Let students repeat.
- iv) Word Practice. Practice the words on page 9 by repeating the /gr/ blend and identifying the corresponding images. “/gr/ /gr/ /gr/ like in green.” “/gr/ /gr/ /gr/ like in grassland.” “/gr/ /gr/ /gr/ like in grapes.”
- c) Explain the meaning using physical actions. Green — point to something green in the room (or a leaf), give a thumbs up, and say “Green!” Grassland — pretend to walk through tall grass by lifting your knees high and say “Grassland!” Grapes — pretend to hold a bunch of grapes, pick one, pop it in your mouth, and say “Grapes!” Encourage students to copy your actions.
4. Workbook pg 9 — Phonics
- Use the drum illustrations on pages 8 and 9 as musical instruments to distinguish between the /dr/ and /gr/ sounds. If the teacher says a /dr/ word, tap the left drum (page 8). If the teacher says a /gr/ word, tap the right drum (page 9).
- “Show me your left hand. Tap the /dr/ drum! (Tap, tap!) Say: /dr/, /dr/, dry!” “Show me your right hand. Tap the /gr/ drum! (Tap, tap!) Say: /gr/, /gr/, green!” “Listen to the word. If you hear /dr/, tap the left! If you hear /gr/, tap the right! One, two, ready, go!… Dress!” Mix in some silly words or random words from previous units.
- Teacher Tips: change the speed of your voice constantly. Start super slow and silly, then suddenly go lightning fast. This creates a playful atmosphere.
5. Wrap-up
- Review target words with the Let’s Chant song, then finish the class with the Goodbye song.