
Roo Station / UNIT 04 RO04
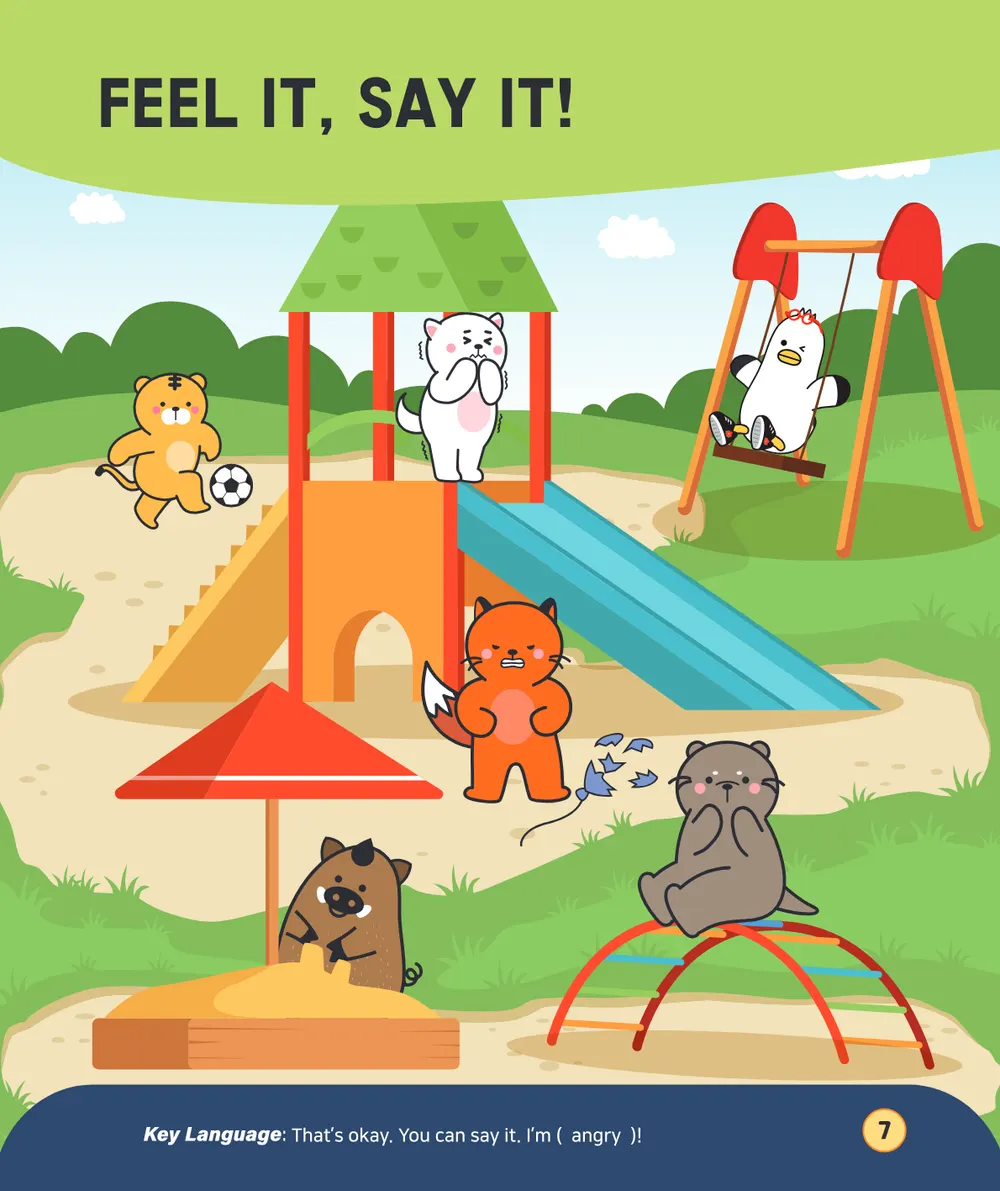
Feel It, Say It!
That's okay. You can say it.
 LESSON 3
LET’S GET STARTED
CLIL and Phonics
Follow the shared lesson flow, with room to repeat, pause and play.
Start presentation Slides, audio and teaching notes in one place.Your lesson flow
Week 2 · Day 1- 01Routine
Hello & warm-up
Greetings, feelings, weather and the day.
- 02SB
story review, brief
Student Book · p. 10–21
- 03Optional
CLIL emotions on paper planes
Student Book · p. 23
- 04WB
phonics
Workbook · p. 7–8
SING · MOVE · PLAY
A little more play
Built into your lesson. Repeat or skip to suit your class; keep time for the book and conversation.
More official songs & online games
Preview external pages before class. They open in a new tab and may need internet or show provider content.
- Walking Walking · movement song ↗Use before seated book work. Model actions in place.
- Starfall ABCs · letter exploration ↗Choose the lesson’s letter with your class. Best after introducing its sound.
- British Council · word games ↗Select the topic first; reading tasks need teacher help for beginners.
Our games add oral practice to the curriculum. They do not measure a child’s English level.
Teaching guide
Original Teacher’s Guide. Each 40-minute lesson covers two guide periods.
3. CLIL and Phonics
W2 P1Student Book — Read together review + Student Book (CLIL)
Lesson Goals
- Review the story
- Review vocabulary
Students will be able to
- Check story comprehension
- Check vocabulary comprehension
1. Warm-Up
Hello Song · “How are you?” · “How’s the weather today?” · Day of the week check
2. Brief Story Review
- “Let’s quickly remember our Feelings!” Open the Student Book to page 10 and quickly flip through pages 10-21, pointing to the pictures.
- Key questions, pausing after each to allow students time to answer: “How does Otto feel?” (Otto is sad.)
3. Complete CLIL (Student book pg. 23)
- Materials: A4 paper or colored paper, crayons or colored pencils.
- 1. Warm-Up. Teacher: “When do you feel angry?” “When do you feel scared?”
- 2. Draw the moment. Give each student a sheet of paper. “Draw when you were nervous.” “Draw when you were sad.” No writing needed — just colors, shapes or faces.
- 3. Fold into a paper airplane. Help students fold their paper into an airplane.
- 4. Fly the feeling away. Line up together. The teacher counts: “3, 2, 1… Fly My Feeling!” Students throw their airplanes. After flying, place hands on heart and say: “Goodbye angry!” / “Goodbye sad feeling!”
4. Complete story review with stickers (pg. 25)
- Go through each emotion with students and guide them to place the correct stickers in each box.
4. Finish the class
- Finish with the chant in Student book pg. 9.
W2 P2Phonics (Workbook)
Lesson Goals
- Learn how to pronounce the letters “BL” and “GL”
- Correctly identify and spell “BL” and “GL” words
Students will be able to
- Complete workbook pages
- Help students’ comprehension of new vocabulary and phonics
1. Warm-Up
Hello Song · “How are you?” · “How’s the weather today?” · Day of the week check
1. Introduce the Letters: Workbook pg 7-8
- a) Write uppercase “BL” and lowercase “bl” on the board. Write uppercase “GL” and lowercase “gl” on the board. Say: “These are the letters BL and GL. Let’s learn their sounds!” Model, and have the students repeat so they recognize the letters.
- b) Demonstrate pronunciation for the “bl” sound: “The letters BL together make the /bl/ sound.” “To make the /bl/ sound, put your lips in your mouth and then push your tongue towards your teeth…” Exaggerate the sound. Say: /blll/ like in blow, /blll/ like in blue, /bll/ like in blocks. Practice these words numerous times until you feel students are proficient.
- c) Explain the meaning of the new words using physical actions. Blow — act like you’re blowing out a candle or blowing up a balloon. Blue — show students various blue items and repeat the word blue. Blocks — stack blocks. Encourage students to copy your actions.
- d) Connect the vocabulary to students’ lives. For blow: “What can you blow out?” For blue: “What is blue in our classroom?” For blocks: “How many blocks do I have?”
- Workbook page 7: use the workbook to practice writing “B”.
- For the “gl” sound: “The letter GL makes the /gl/ sound.” “To make the /gl/ sound, lift the back of your tongue.” Exaggerate the sound. Say: /glll/ like in glad, /glll/ like in glass, /glll/ like in glove. Practice these words numerous times until you feel students are proficient.
- e) Explain the meaning of the new words using physical actions. Glad — smile! Glass — show students a picture of a glass and pretend to drink out of it. Glove — point to your hand and pretend to put a glove on. Encourage students to copy your actions.
- f) Connect the vocabulary to students’ lives. For glad: “What makes you feel glad?” For glass: “What can you drink out of a glass?” For glove: “Why do we wear gloves?”
- Workbook page 8: use the workbook to color the fish, with different colors for uppercase GL and lowercase gl.
2. Hide and seek
- a) Gather students in a seated circle or group.
- b) Put items or flashcards around the classroom.
- c) Have one student at a time find the corresponding item or flashcard and return to the circle.
- d) Then have all the students say the word.
- Tell them: “We will play one at a time. Everyone will have a turn.” “When it is your turn, I will tell you what word you need to look for and you will get up and find the word in the classroom.”
- Begin by choosing a student and calling out one word at a time. Students respond with the correct action. Mix them up and repeat as needed. Don’t time the students — keep it fun. If you want to make it more challenging, feel free to add a timer.
3. Wrap-up
- Finish the class with the “Goodbye Song”.